QML ListView에 C++ QStandardItemModel적용
QML ListView에서 C++에서 작성한 QStandardItemModel을 적용하기 위한 예제 입니다.
- main.cpp
#include "qtquick1applicationviewer.h"
#include <QApplication>
#include <QStandardItemModel>
#include <QDeclarativeEngine>
#include <QDeclarativeContext>

class TestModel : public QStandardItemModel
{
public:
    TestModel() : QStandardItemModel()
    {
        QHash<int, QByteArray> roleNames;
        roleNames[Qt::UserRole + 1] =  "name";
        roleNames[Qt::UserRole + 2] = "option1";
        roleNames[Qt::UserRole + 3] = "option2";
        setRoleNames(roleNames);
    }
};

int main(int argc, char *argv[])
{
    QApplication app(argc, argv);

    TestModel* model = new TestModel;

    QList<QStandardItem*> columnItems;
    QStandardItem *item1 = new QStandardItem("AAA");
    item1->setData(QString("AAA"), Qt::UserRole + 1);
    item1->setData(QString("111"), Qt::UserRole + 2);
    item1->setData(QString("222"), Qt::UserRole + 3);
    columnItems << item1;
    model->appendRow( columnItems );

    columnItems.clear();
    QStandardItem *item2 = new QStandardItem();
    item2->setData(QString("BBB"), Qt::UserRole + 1);
    item2->setData(QString("333"), Qt::UserRole + 2);
    item2->setData(QString("444"), Qt::UserRole + 3);
    columnItems << item2;
    model->appendRow( columnItems );

    QtQuick1ApplicationViewer viewer;
    viewer.addImportPath(QLatin1String("modules"));
    viewer.setOrientation(QtQuick1ApplicationViewer::ScreenOrientationAuto);

    viewer.engine()->rootContext()->setContextProperty( "testModel", model );

    viewer.setMainQmlFile(QLatin1String("qml/qmllistex/main.qml"));
    viewer.showExpanded();

    return app.exec();
}
- main.qml
import QtQuick 1.1

Rectangle {
    width: 640
    height: 480

    Component {
        id: listRow

        Row {

            Rectangle {
                width:100
                height:20
                color: "blue"
                TextEdit {
                    anchors.fill: parent
                    color: "white"
                    text: name
                }
            }
            Rectangle {
                width:100
                height:20
                color: "red"

                TextEdit {
                    anchors.fill: parent
                    color: "white"
                    text: option1
                }
            }
            Rectangle {
                width:100
                height:20
                color: "cyan"

                TextEdit {
                    anchors.fill: parent
                    color: "white"
                    text: option2
                }
            }
        }
    }

    ListView {
        model: testModel
        delegate: listRow
        anchors.fill: parent
        interactive: false
    }
}
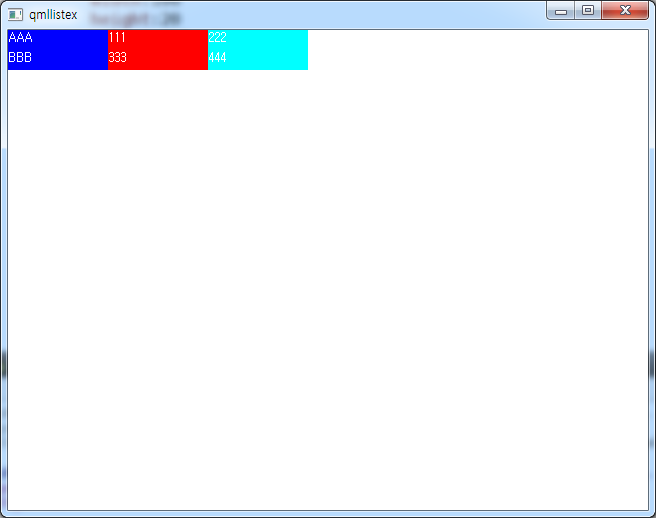
실행결과
위의 예제에서 QML코드에서 C++의 TestModel의 값을 수정하기 위해서는 다음과 같은 방법으로 수정할 수 있습니다.
편의상 주요 수정사항만 발췌 합니다.
- main.cpp
class TestModel : public QStandardItemModel
{
    Q_OBJECT
public:
    TestModel() : QStandardItemModel()
    {
        QHash<int, QByteArray> roleNames;
        roleNames[Qt::UserRole + 1] =  "name";
        roleNames[Qt::UserRole + 2] = "option1";
        roleNames[Qt::UserRole + 3] = "option2";
        setRoleNames(roleNames);
    }

    Q_INVOKABLE void setModelProperty(int index, QString property, QVariant value)
    {
        qDebug() << "TestModel::setModelProperty index:" << index << " property:" << property
                 << " value:" << value;
        if (property == "name")
            setData(QStandardItemModel::index(index, 0), value, Qt::UserRole+1);
    }
};

int main(int argc, char *argv[])
{
    QApplication app(argc, argv);

    ....

    viewer.setMainQmlFile(QLatin1String("qml/qmllistex/main.qml"));
    viewer.showExpanded();

    return app.exec();
}

#include "main.moc"
먼저 TestMode의 객체에 setModelProperty라는 함수를 추가하고, 해당 함수에서 property의 값이 “name”인 경우 setData함수를 통해 Qt::UserRole+1 에 해당하는 값을 value로 변경합니다.
Qt::UserRole+1은 앞서 TestMode생성자에서 정의한 “name”의 user role입니다.
setModelProperty함수는 QML에서 접근이 가능하여야 하므로 Q_INVOKABLE 이 추가되어야 하고, Q_INVOKABLE이 제대로 동작하기 위해서는 Q_OBJECT가 TestModel에 선언이 되어야 하기 때문에 이 역시 추가를 하였습니다.
이와 더불어 Q_OBJECT가 추가되고, 해당 코드가 main.cpp 와 같이 source 코드에 기술됨에 따라 main.cpp파일 가장 하단에 main.moc를 include합니다.
이제 QML코드에서 다음과 같이 setModelProperty에 접근하는 코드를 삽입합니다.
   ....
    Component {
        id: listRow

        Row {
            Rectangle {
                width:100
                height:20
                color: "blue"
                TextEdit {
                    anchors.fill: parent
                    color: "white"
                    text: name
                }
            }
            Rectangle {
                width:100
                height:20
                color: "red"

                TextEdit {
                    anchors.fill: parent
                    color: "white"
                    text: option1
                }
            }
            Rectangle {
                width:100
                height:20
                color: "cyan"

                TextEdit {
                    anchors.fill: parent
                    color: "white"
                    text: option2
                }

               MouseArea {
                    anchors.fill: parent
                    onClicked: {
                        console.log("Clicked: "+index)

                        testModel.setModelProperty(index, "name", "xxxx")
                    }
                }
            }

        }
    }
 ....
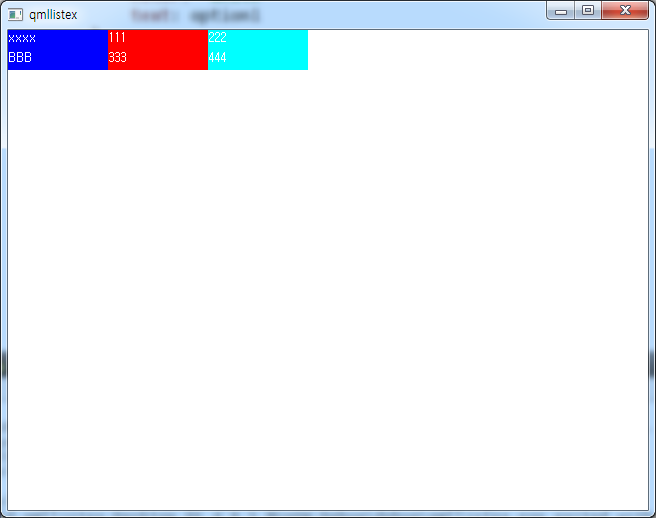
위의 QML코드중 option2의 값을 표시하는 Rectangle에 MouseArea를 추가하고 onClicked를 재정의하여 testModel.setModelProperty(index, “name”, “xxxx”) 를 추가합니다.
이 루틴은 현재 index(즉 row)의 name 필드의 값을 “xxxx”로 변경합니다.
위를 저장하고 실행을 하면 option2의 필드를 클릭하면 첫번재 이름부분이 “xxxx”로 변경됨을 확인할 수 있습니다.
실행결과